Rivets are one of the oldest fasteners still used daily in industry, and for good reason. A correctly set rivet is permanent, resists vibration loosening, and joins thin or dissimilar materials without the heat distortion of welding or the loosening risk of an unlocked bolt.
They are also easy to get wrong. The wrong type of rivet for the access available, the wrong material for the environment, or the wrong grip range for the stack, and the joint fails. Sometimes on the line, sometimes eighteen months later in the field.
Rivets hold together aircraft fuselages, shipping containers, HVAC ductwork, semi-trailers, electrical enclosures, and the pocket corners on a pair of denim jeans. This industrial rivets guide covers the three things that decide whether a riveted joint holds: the types of rivets available, the tools and installation methods each one requires, and the applications each is built for.
The real decision is narrower than it looks. It comes down to matching the rivet to the material, the load, and the access.
What Is a Rivet?
A rivet is a permanent mechanical fastener made of a shank, or body, with a preformed head on one end. The rivet is inserted through aligned holes in the parts being joined, and the protruding tail is then deformed into a second head. Once the second head forms, the parts are clamped between the two heads, and the joint is set.
The rivet definition that matters most is what separates it from a bolt. A bolt has threads. It can be torqued, checked, loosened, and removed. A rivet has no threads and no reversibility. Removing one means destroying it, usually by drilling out the head. That permanence is not a limitation to work around. It is the entire point. A fastener that cannot unscrew cannot vibrate loose.
Most rivets share the same anatomy:
- Head: the preformed end that stays visible on the installed side
- Shank or body: the cylindrical section that passes through the material and carries the load
- Tail: the end that deforms into the second head during installation
- Mandrel: a center pin found only in blind rivets, used to form the far-side head and then discarded
The scale of rivets that can work is easy to underestimate. The Eiffel Tower is held together by roughly 2.5 million rivets, every one of them set by hand in the 1880s. They are still holding.
How Riveting Actually Works
Riveting depends on two things happening correctly at the same time. The shank has to deform enough to form a sound second head, and that deformation has to happen within the rivet’s rated grip range.
Grip range is the combined thickness of everything being joined. Every rivet is rated for a specific range, and that rating is not a suggestion. If the grip range is too thin for the rivet, the tail has too much material left over and does not form a clean second head. If it is too thick, the rivet either will not set at all or sets loose, leaving a joint that looks finished and is not.
Once set, a riveted joint resists load differently from a bolted one. A bolt generates clamping tension through applied torque, and that tension is what holds the joint. A rivet carries load primarily in shear across the shank, with clamping friction between the two formed heads doing secondary work. Nothing in that load path depends on maintained torque, which is why a correctly set rivet often outlasts an unlocked bolt under constant vibration. There is no preload to relax and no thread to back off.
Types of Industrial Rivets
Eight types of rivets cover almost every industrial application. The different types of rivets separate from one another on three variables: how much access installation requires, how much strength the set joint delivers, and what tool is needed to set it. The table below compares all eight before each one is covered in detail.
| Type | Access Needed | Relative Strength | Typical Tool | Best For |
|---|---|---|---|---|
| Solid | Two-sided | Highest | Bucking bar and hammer, or squeeze riveter | Aerospace structure, structural steel, boiler work |
| Blind (pop) | One-sided | Moderate | Hand or pneumatic rivet gun | Sheet metal, panels, general assembly |
| Structural blind | One-sided | High | Heavy-duty pneumatic or hydraulic riveter | Trailers, curtain wall, heavy equipment |
| Semi-tubular | Two-sided | Moderate | Press or automated riveting machine | High-volume assemblies, hinges, brake components |
| Split (bifurcated) | Two-sided | Low | Press, pliers, or hammer and anvil | Leather, wood, plastic, gaskets |
| Drive | One-sided | Low | Hammer | Signage, nameplates, light trim |
| Flush, countersunk | Depends on base type | Same as base type | Same as base type | Aircraft skins, marine decking |
| Rivet nut | One-sided | Creates a thread rather than a clamp | Rivet-nut or spin tool | Threaded attachment points in thin material |
Solid Rivets
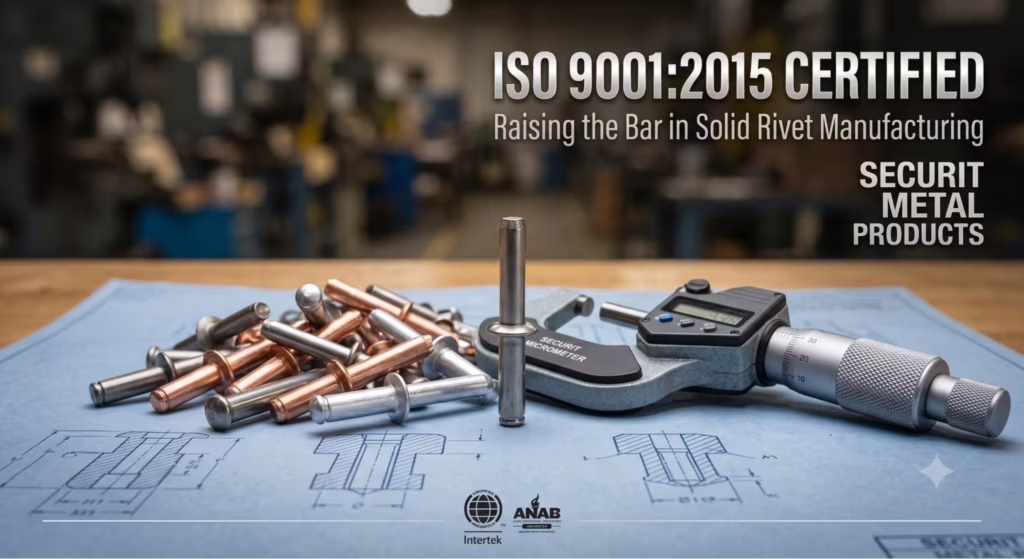
A solid rivet is a single piece of metal: a head and a full, unhollowed shank. It is the oldest rivet type and still the strongest because it has no mandrel hole or hollow section to reduce the load-carrying cross-section.
Installation requires access to both sides. The rivet is inserted, a bucking bar backs the original head from the far side, and the tail is hammered or squeezed into a second head while the bar holds the joint tight. Done correctly, the formed head is uniform around its full circumference.
The trade-off is straightforward: two-sided access and more installation effort in exchange for the highest shear strength of any rivet type. Where a joint is structural, and the access exists, nothing else performs better. Common applications include aerospace structures, structural steel connections, bridge and boiler work, and heavy equipment expected to carry load for decades.
Blind Rivets (Pop Rivets)
A blind rivet, commonly called a pop rivet, has a hollow shank with a mandrel running through the center. It is the answer to the most common constraint in assembly work: you can only reach one side.
The mechanism is simple. The tool grips the mandrel and pulls it back through the rivet body, flaring the far end of the hollow shank against the blind side of the material into a second head. Once full clamp force is reached, the mandrel snaps at a scored break point and the stub ejects.
Two distinctions matter when specifying blind rivets:
- Mechanical-lock vs. friction-lock. A mechanical-lock rivet traps the mandrel stub permanently inside the body, which keeps the joint tight under vibration. A friction-lock rivet holds the stub by friction alone, and that stub can work loose over time. For anything that vibrates, specify a mechanical-lock rivet.
- Open-end vs. closed-end. An open-end rivet is the standard and leaves a small hole through the center. A closed-end, or sealed, rivet has a domed bottom that creates a watertight joint, which is the correct choice for fuel tanks, coolant systems, and outdoor enclosures.
Aluminum is the most common blind rivet material because it is light, corrosion-resistant, and easy to set. Steel, stainless steel, and copper versions are available where higher strength or specific corrosion resistance is required.
Structural Rivets
Structural rivets are heavy-duty blind rivets engineered to approach solid-rivet strength while keeping one-sided installation. They use a thicker body, a larger blind-side head, and a mechanical lock that retains the mandrel as a load-bearing element rather than waste. Purchasing teams will encounter them under brand-derived names such as Huck-style and Avdel Monobolt.
Typical uses include construction steel and curtain wall systems, trailer and truck body assembly, heavy equipment fabrication, and tower or scaffold assembly. Anywhere the joint is structural, and the back side is unreachable, a structural rivet is the answer.
Semi-Tubular Rivets
A semi-tubular rivet has a partial hole drilled into the tail. It is not fully hollow like a blind rivet, and it has no mandrel.
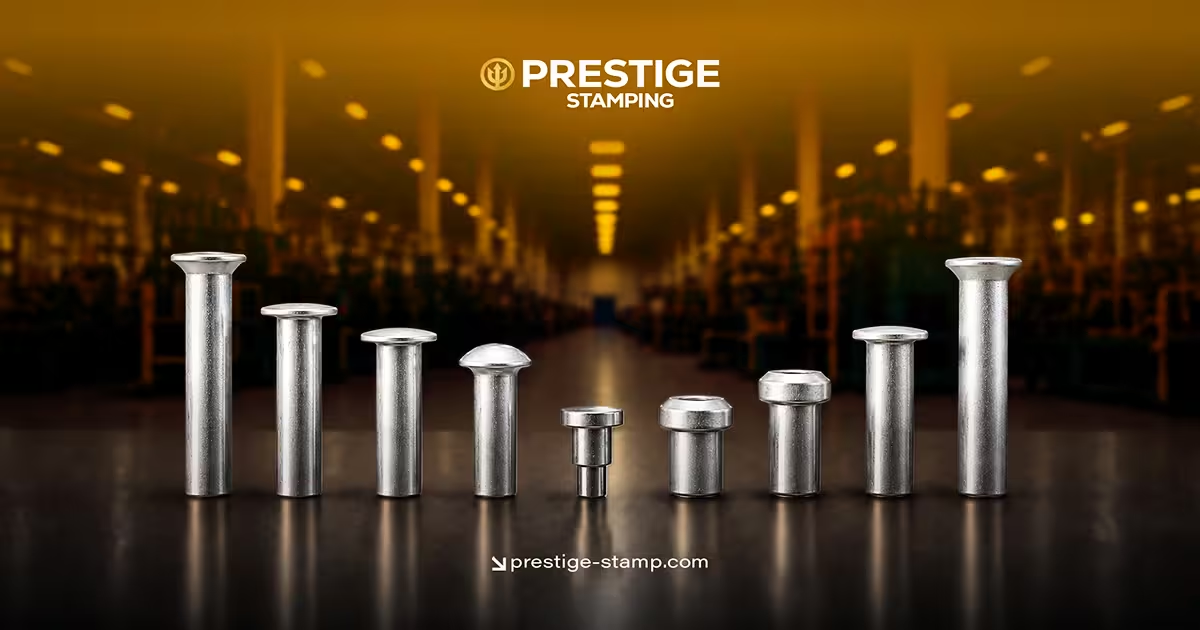
That partial hole is what makes it economical. Only the thin wall around the hole has to flare during setting, so a semi-tubular rivet needs a fraction of the force a solid rivet of the same diameter would require. Less force means faster cycle times, smaller equipment, and lower tooling wear, which is why semi-tubular rivets dominate high-volume manufacturing: appliance assembly, hinges, brake components, electrical hardware, and any product where thousands of identical joints are set per shift.
A fully tubular rivet takes the idea further, with a shank hollow end to end. It sets with even less force but carries meaningfully less load, which limits it to light-duty and decorative work.
Split Rivets (Bifurcated Rivets)
A split rivet, also called a bifurcated rivet, has a tail that splits into two pointed prongs. Those prongs can pierce soft material directly, which often removes the drilling step entirely. Once through, they are bent outward and back against the material.
Split rivets are used for wood, leather, plastic, cardboard, and gasket material. They are not intended for metal-to-metal structural joints and should not be substituted into one.
Drive Rivets
A hammer drive rivet resembles a blind rivet but works differently. Instead of pulling a mandrel with a tool, a pin is driven into the rivet body with a hammer, expanding the shank against the back of the hole.
The appeal is simplicity: one person, one side, one hammer, no rivet gun. The trade-off is strength, since a drive rivet holds less load than a pulled blind rivet of the same diameter. Use them for signage, nameplates, and light trim, where appearance and speed matter more than load.
Flush Rivets (Countersunk Rivets)
A flush rivet is not a separate mechanical family. It is a head style, a tapered countersunk head, applied to another rivet type, most often solid or structural.
Seated in a matching countersunk or dimpled hole, the head sits level with the surrounding surface. That flush finish is the entire purpose. On an aircraft skin, it reduces aerodynamic drag across thousands of fasteners. On marine decking and automotive panels it removes a snag point and improves the finished surface. The hole preparation has to be right. An undersized or misaligned countersink leaves the head proud or overstressed, and both show.
Rivet Nuts (Threaded Inserts)
A rivet nut does a different job from every other rivet on this list. It does not clamp two parts together. It creates a threaded hole in material too thin to tap.
A rivet-nut tool crimps the barrel of the insert against the back face of a pre-drilled hole, leaving a captive internal thread on the front. A bolt or screw then threads into it normally.
The benefit is reversibility. A rivet nut lets you bolt a component onto thin sheet and unbolt it later for service, which no permanent rivet allows. That makes it standard in automotive assembly, electronics enclosures, appliance panels, and cabinetry.
Choosing a Rivet Material
Rivet material selection is a strength and environment decision, made together rather than in sequence. Most types of rivets are available in several alloys, so the type and the material are separate choices.
- Aluminum: the default for blind rivets. Light, corrosion-resistant, easy to set, and lower in shear strength than steel. Suitable for the large majority of sheet metal and panel work.
- Steel: significantly higher strength than aluminum, and the standard where load governs. Requires zinc plating or another coating to resist rust in any environment with moisture.
- Stainless steel: strength plus genuine corrosion resistance. The standard for marine, food-grade, chemical, and permanent outdoor applications.
- Copper: soft and easy to set, with good electrical conductivity. Used in electrical assemblies and in traditional leather and hardware work.
- Monel and nickel alloys: the highest corrosion resistance available, specified for aerospace, marine, and chemical processing. Expensive, and worth it only where the environment demands it.
A note on galvanic corrosion. When two dissimilar metals sit in contact in a wet or outdoor environment, the more reactive metal corrodes faster. A steel rivet in an aluminum panel exposed to weather will accelerate corrosion of the aluminum around every hole. Match the rivet alloy to the base material where possible, or isolate the two with a coating or sealant. This is one of the most common causes of premature joint failure in outdoor assemblies, and it is entirely preventable at the specification stage.
How to Install Rivets
The installation method follows from rivet type. A blind rivet, a solid rivet, and a rivet nut each require different tooling and different techniques.
Tools You Will Need:
- Hand rivet pliers: small-diameter blind rivets, low volume
- Pneumatic rivet gun: the production standard for blind rivets
- Cordless riveter: pneumatic consistency without an air line, useful in the field
- Hydraulic riveter: structural rivets and diameters beyond pneumatic capacity
- Hammer, rivet set, and bucking bar: the traditional solid rivet setup
- Squeeze riveter: solid rivets where access and part geometry allow
- Rivet-nut tool: a dedicated spin or pull tool for threaded inserts
How a Rivet Gun Sets a Blind Rivet
Understanding the sequence makes most installation faults easy to diagnose:
- The jaws inside the tool nose grip the mandrel stem.
- The trigger pull draws the mandrel back through the rivet body.
- The mandrel head flares the blind-side end of the shank against the far side of the material.
- That flare forms the second head and clamps the stack between the two heads.
- Continued pull increases tension until the mandrel snaps at its scored break point, which happens only once full clamp force is reached.
- The mandrel stub ejects through the tool or is pulled clear.
The break point is a designed feature, not a failure. It is the rivet telling you the joint reached specification clamp force.
Step by Step: Installing a Blind Rivet
- Measure the grip range. Add the thickness of every layer being joined and select a rivet rated for that combined stack.
- Confirm the diameter. Diameter drives shear capacity. Size it to the load, not to the drill bit already in the chuck.
- Drill the hole to the specified diameter. A loose hole lets the rivet shift under load and prevents a proper flare.
- Insert the rivet with the head on the visible side and the mandrel facing the tool.
- Seat the tool nose fully against the rivet head and pull the trigger until the mandrel snaps.
- Inspect the joint. The head should sit flush with no gap under it. The blind side should show a fully formed, uncracked second head.
Installing Solid Rivets
Drill the hole to specification and insert the rivet. Back the original head with a bucking bar held firmly from the opposite side, then hammer or squeeze the tail into a second head, working evenly around the circumference rather than driving from one angle. The formed head should be symmetrical and free of cracks. Uneven work produces a head that looks acceptable and carries load unevenly.
Installing Rivets Without a Rivet Gun
Some jobs do not need one. Hand pliers set small blind rivets. Drive rivets need only a hammer. Split rivets in leather, wood, or plastic can be set with pliers or a hammer and anvil.
This is a light-duty allowance, not a substitute. Structural and load-bearing joints require the specified tool. Improvised installation produces inconsistent clamp force, and inconsistent clamp force is what fails in service.
Industrial Applications of Rivets
Rivets appear in nearly every manufacturing sector, but the reason changes by industry. Aerospace specifies them for fatigue life. Automotive specifies them to avoid weld heat. Marine specifies them for alloy compatibility in saltwater. The application below drives the type, material, and head style.
- Aerospace: flush solid and structural rivets joining fuselage skin to frame, where strength, fatigue life, and low drag outrank installation speed.
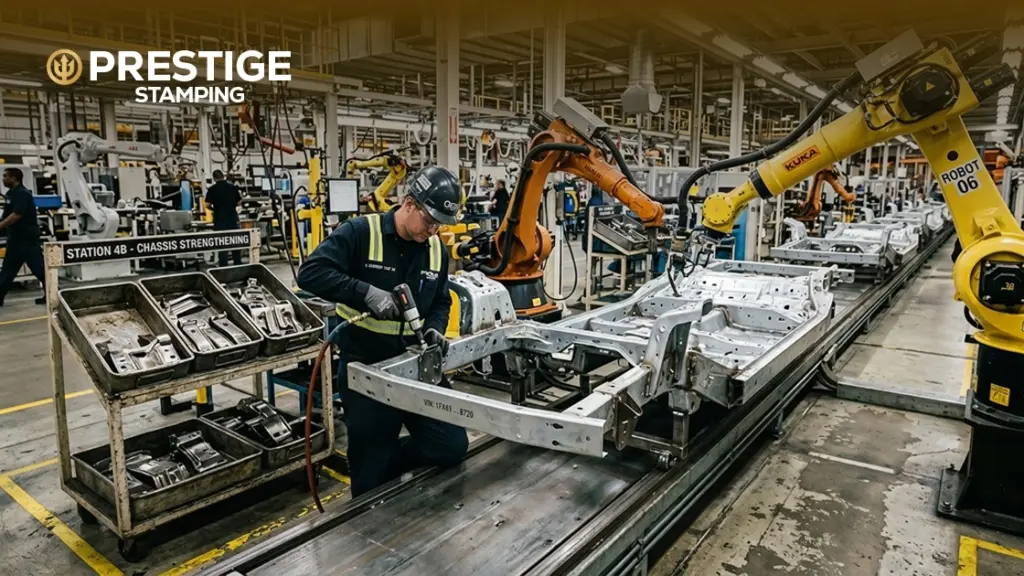
- Automotive: chassis components, body panels, and a growing role in EV battery enclosures, where rivets join aluminum to steel without the heat distortion welding would introduce.
- Construction and structural steel: structural blind rivets in curtain wall systems, HVAC ductwork, and connections where welding is impractical.
- Marine and shipbuilding: stainless steel and Monel rivets in hulls, decking, and fittings under constant saltwater exposure.
- Electronics and appliances: semi-tubular and tubular rivets in enclosures, hinges, and brackets, set by automated equipment at volume.
- Furniture and signage: drive and split rivets for nameplates, trim, and light hardware.
- Apparel and leather goods: split and decorative rivets in denim, bags, and belts, tracing directly to the 1873 Levi Strauss and Jacob Davis patent for riveted work pants.
Rivets vs. Bolts vs. Welding
Rivets are not the default answer to every joining problem. They compete with bolts and with welding, and each wins on a different constraint. The comparison below covers the six criteria that usually decide it.
| Criteria | Rivets | Bolts | Welding |
|---|---|---|---|
| Removable | No, destroy to remove | Yes | No |
| Vibration resistance | High | Moderate; requires a locking feature | High |
| Heat distortion | None | None | Significant |
| Dissimilar metals | Yes, with alloy compatibility care | Yes | Difficult to impossible |
| Access needed | One or two sides depending on type | Two sides | One side, plus fit-up and prep |
| Skill and equipment | Low to moderate, highly repeatable | Low | High; certified operators required |
The rule of thumb: reach for rivets when the joint must be permanent and vibration-resistant, the materials are thin or dissimilar, heat distortion is unacceptable, and access may be limited to one side. Reach for bolts when the joint has to come apart for service. Reach for welding when you need a continuous, sealed, full-strength join in like materials and have the certified capability to do it.
Common Rivet Problems and How to Fix Them
Most riveting faults on the floor trace back to one of five causes, and none of them are the rivet itself. Four are specification errors made before the tool came out, and one is tool wear. Knowing which is which saves the trial-and-error of swapping rivets until something holds.
- The mandrel will not pull, or the rivet spins in the hole. Usually worn or mismatched jaws in the tool nose, or the wrong nose piece for the rivet diameter. Check both before assuming the rivet is defective.
- The rivet is loose after setting. A grip-range mismatch. The stack is outside what the rivet is rated for. Drill it out and replace it with the correct size rather than adding a second rivet beside it.
- The head cracks during setting. The material is too hard or too brittle for the forming force, or the alloy is wrong for the application. Move to a softer alloy or a rivet type that sets with less force.
- The rivet backs out over time. Almost always a friction-lock blind rivet in a high-vibration application. Replace with a mechanical-lock or structural rivet.
- Corrosion or staining appears around the rivet. A galvanic mismatch between the rivet and the base material. Change the alloy or isolate the two metals with a coating or sealant.
How to Choose the Right Rivet: A Quick Checklist
Specification is where riveted joints are won or lost, and it takes about two minutes. Six questions narrow eight types of rivets down to one, and they should be answered before anyone drills a hole. Work through them in order, because the answer to each one constrains the next.
- What materials are being joined, and is the rivet alloy compatible with them?
- What is the combined grip range of the full stack?
- Is there access to one side or both?
- Will the joint see constant vibration?
- Will it see moisture, salt, chemicals, or sustained outdoor exposure?
- Does the head need to sit flush with the surface?
And one more that overrides the rest: will this joint ever need to come apart? If the answer is yes, a rivet nut and a bolt will serve better than a permanent rivet, and the decision is made.
Frequently Asked Questions
What is a rivet?
A rivet is a permanent mechanical fastener consisting of a shank with a preformed head. It is inserted through aligned holes, and the protruding tail is deformed into a second head, clamping the parts between the two heads.
What is the difference between a rivet and a bolt?
A bolt is threaded and removable, and it holds through torque-generated clamping tension. A rivet has no threads, cannot be unscrewed, and must be destroyed to remove. That permanence is what makes rivets resistant to vibration loosening.
Can you install rivets without a rivet gun?
Yes, for light-duty work. Hand pliers set small blind rivets, drive rivets need only a hammer, and split rivets in soft material can be set with pliers or a hammer and anvil. Structural joints still require the specified tool.
What is a riveter?
The term covers both the tool that sets rivets and the person operating it. The wartime “Rosie the Riveter” campaign refers to the second meaning.
What are pop rivets used for?
Pop rivets, or blind rivets, are used wherever only one side of the joint is accessible: sheet metal fabrication, automotive panels, HVAC ductwork, enclosures, and general assembly.
How do you remove a rivet?
Drill through the center of the head with a bit slightly smaller than the shank diameter, then punch or pull the remaining shank out. Work slowly to avoid enlarging the hole in the base material.
What size rivet do I need?
Match the diameter to the shear load the joint must carry, and confirm the rivet’s rated grip range covers the combined thickness of everything being joined. Both have to be right.
Conclusion
Most riveted joints that fail were specified incorrectly before anyone picked up a tool. The right type for the access you have. The right material for the environment it lives in. The right grip range for the stack it clamps. Get those three right and the installation itself is the straightforward part.
At Prestige Stamping, we manufacture solid rivets and precision stamped components from our 102,000 square foot facility in Warren, Michigan, supported by IATF 16949 and ISO 9001 certified quality systems and in-house material, plating, and heat treat capabilities.
If you are specifying rivets for a new program and want the fastener reviewed against the application before it reaches production, consult with our Michigan-based engineering team.